Creative DIY Mason Jar Projects for a Vibrant Summer
Turn old jars, cans or containers into works of art
By Rue ReynoldJune is the perfect time to embrace creativity and add a touch of charm to your outdoor spaces. With just a few simple materials and a dash of imagination, you can transform ordinary containers such as mason jars into delightful summer-themed lanterns and stylish outdoor planters. Here is a step-by-step guide to creating these fun and eco-friendly projects.
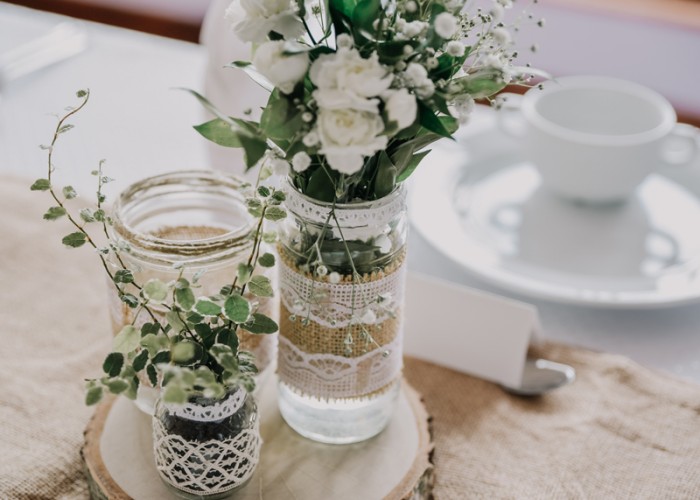
Lantern Jar
Use flameless tea lights for non-heat resistant containers or for extra caution. Their soft glow will not disappoint.
- Mason jar or other heat-resistant, transparent container
- Acrylic paint
Paintbrushes Tea lights or flameless tea lights
- Twine or string (optional)
- Clean and dry your container thoroughly.
- Carefully paint the exterior of the container with a design of your choice. Let dry completely.
- If desired, attach or glue embellishments to the container. Let dry or ensure the decorations are secure.
- Place a tea light candle or flameless tea light inside the finished container and set the container in your desired location.
- Light the candle and enjoy the warm, inviting glow.
- Create a hanging lantern by tying twine securely around the rim to form a handle.
Single Planter
Recycle any container by turning it into a planter. Consider upcycling your DIY lantern into a planter after evening festivities. Just add soil and a plant!
- Mason jar or other heat-resistant, transparent container
- Acrylic paint
- Paintbrushes
- Soil
- Gravel or small rocks
- Plants or herbs
- Fertilizer (optional)
- Glue (optional)
- Decorative embellishments like twine, ribbons or stickers (optional)
- Clean and dry your container thoroughly.
- Carefully paint the exterior of the container with a design of your choice. Let dry completely.
- If desired, attach or glue embellishments to the container.
- Let dry or ensure the decorations are secure.
- Add 1–2 inches of gravel or small rocks to the container to act as a drainage layer. Fill the rest of the container with soil and a small amount of fertilizer, leaving enough space for your plant to grow and thrive.
- Carefully plant your chosen greenery into the soil, ensuring it is securely nestled.
- Arrange your newly created planters in your garden, or on your balcony, patio or window. Follow your plant’s care instructions so it can grow strong and healthy.
-
More DIY projects
-
Share this story:


